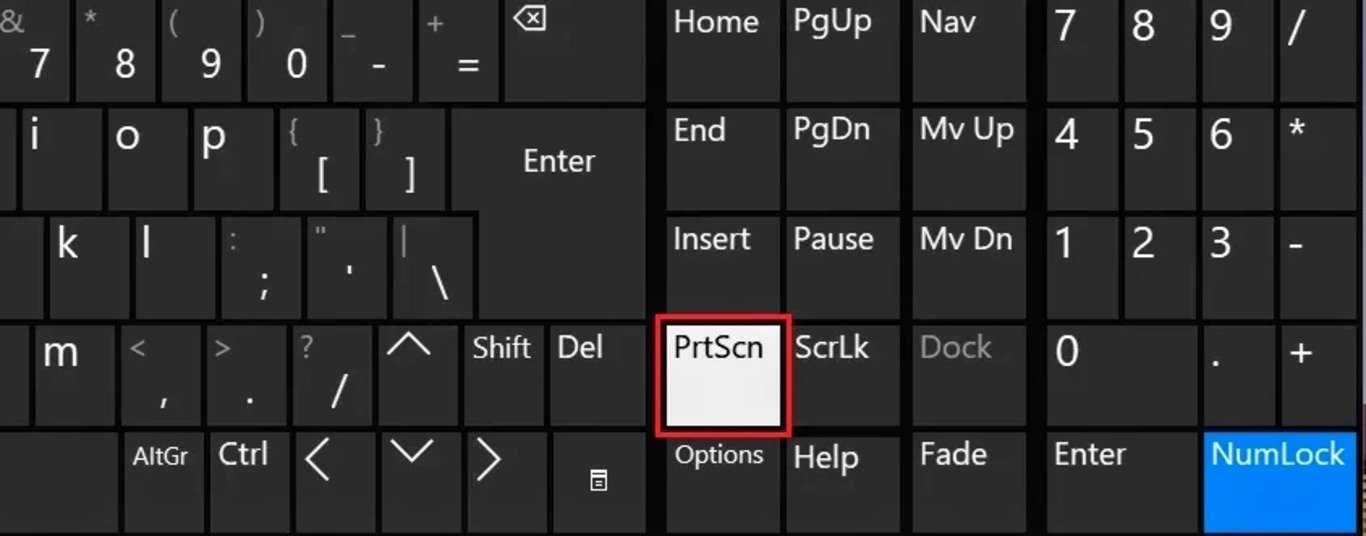
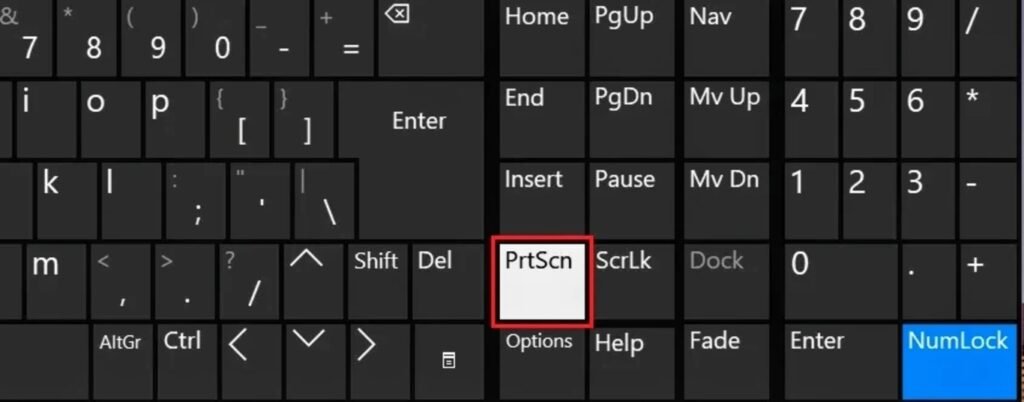
The print screen is used to capture your desktop screen. The print screen saves a bitmap image of the current screen on your desktop. To do this, just press the Print Screen button on your keyboard and this will capture the screenshot to your clipboard. After, you can paste this screenshot into any application like Photoshop, Corel Draw, etc to save it. You can press Windows Key + Prnt Scrn to screenshot and save it to your default picture location. But what happens if Print Screen is not working on your computer? In this article, I’ll be showing you 6 ways to fix Print Screen Not Working in Windows 10. In addition, Print Screen can be abbreviated as Print Scrn, Prnt Scrn, Prt Scrn, Prt Scn, Prt Scr, Prt Sc & Pr Sc.
If your Print Screen key is not working then try Windows Key + PrtSc key and if this also doesn’t worry then don’t panic. Follow the troubleshooting guide that will be listed below.
6 Ways To Fix Print Screen Not Working
Method 1: Disable the F Mode or F Lock
If you have an F Lock key or F Mode key enabled on your keyboard, it prevents you from taking screenshots which deactivates the Print Screen key. So press the F Lock key or F Mode key (disable it) and try to use the Print Screen Key to screenshot and see if it works.
Method 2: Update Your Windows To The Latest Version
Sometimes, a new Windows update might have been sent to fix Print Screen Not Working if it was a bug that caused it not to work.
Step 1: Go to “Windows Settings” and then click on the “Updates and Security” icon.
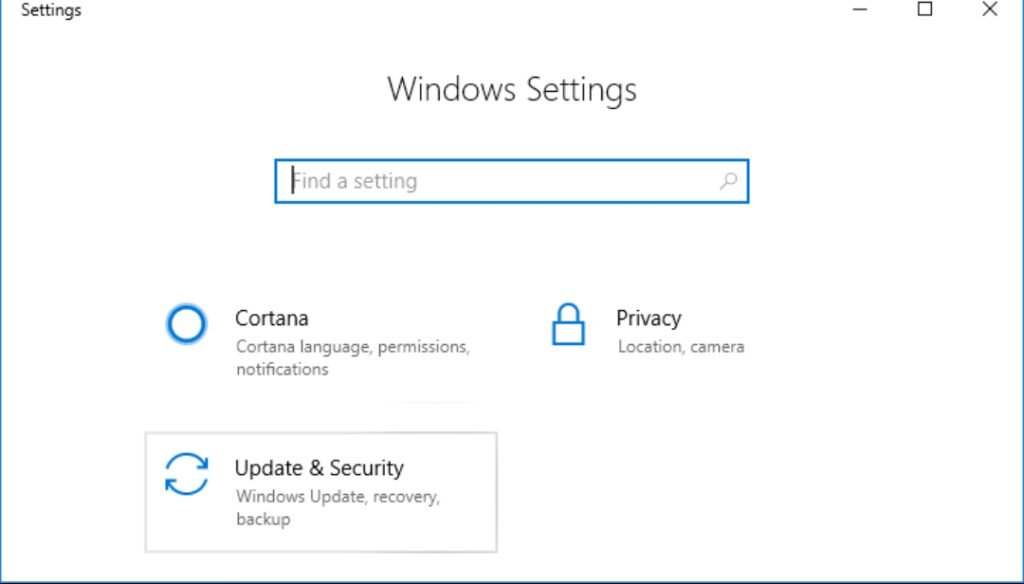
Step 2: Click “Check for updates” under the Update status.

Step 3: If any update is found, install it and restart your computer.
Method 3: Update Your Keyboard Drivers
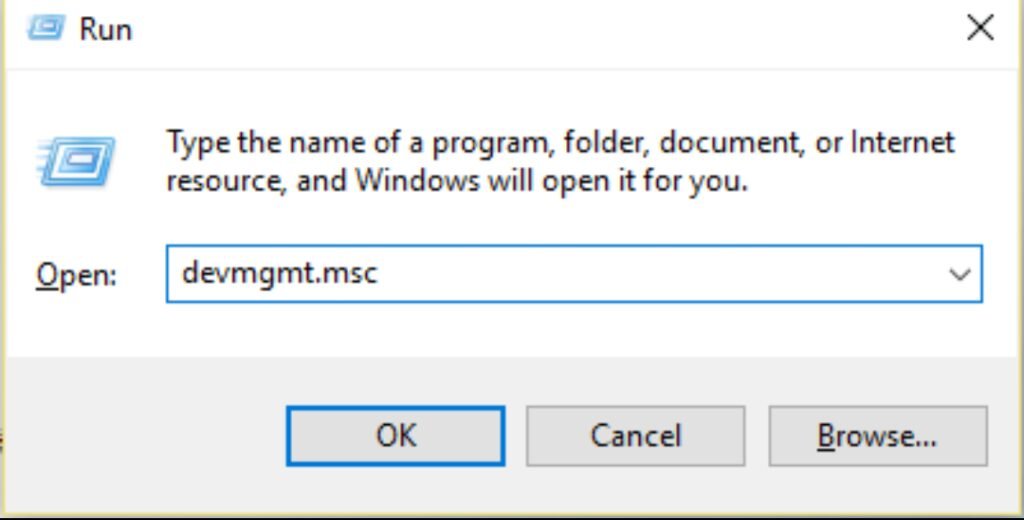
Step 1: Press Windows Key and R simultaneously then type “devmgmt.msc” (without quotes) and hit enter to open Device Manager.
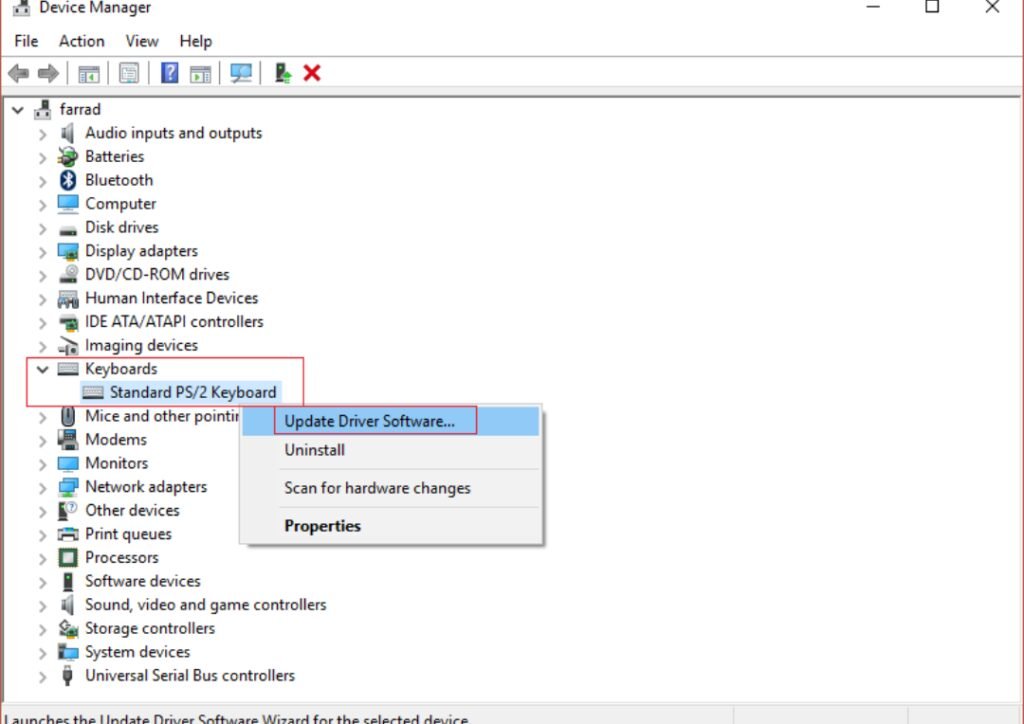
Step 2: Expand “Keyboards” and right-click on “Standard PS/2 Keyboard” and then select “Update Driver Software“.
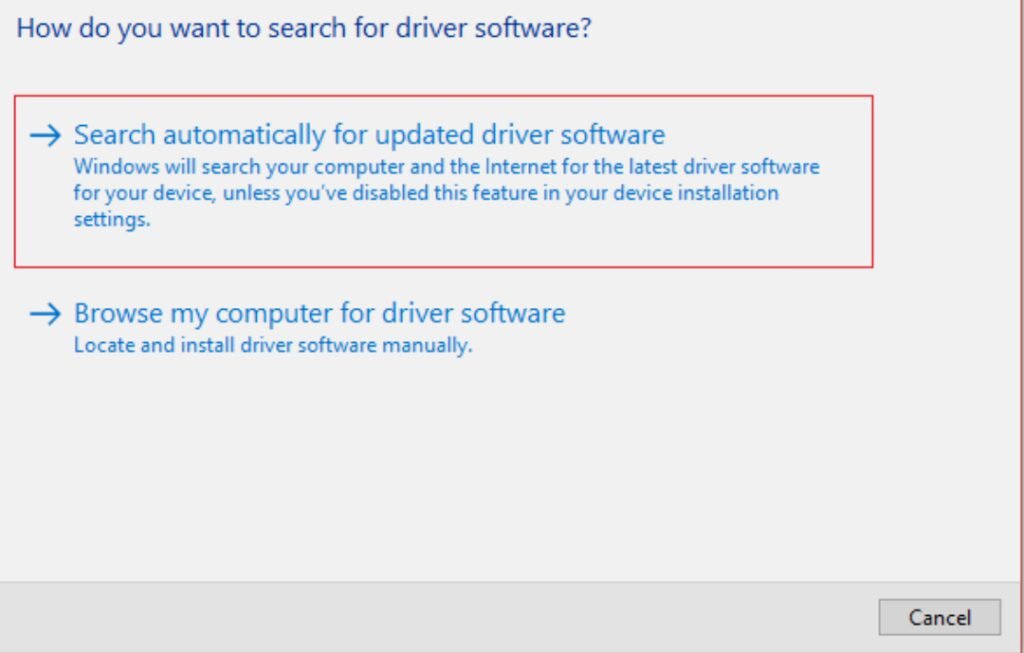
Step 3: Select “Search automatically for updated driver software” and wait for Windows to install the latest driver automatically.
Step 4: Restart your PC and see if you are able to fix Print Screen Not Working in Windows 10.
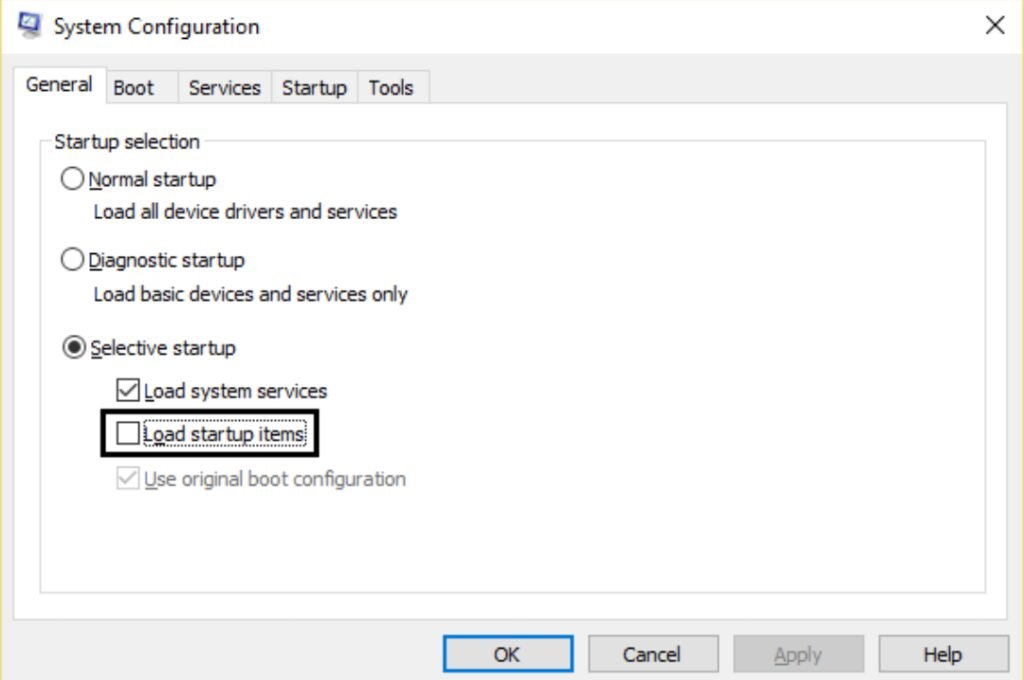
Method 4: Perform a Clean Boot
A clean boot is used to load your Windows PC without any 3rd party application or software. Sometimes, some 3rd party software may be clashing with the keyboard thereby preventing the Print Screen key from working. To fix this, perform a clean boot on your PC and then use the Print Screen key to take a screenshot and see if it works.
Method 5: Stop Some Background Programs
Some programs running in the background may be preventing the Print Screen key from working. So stopping some background programs also helps to fix Print Screen Not Working in Windows 10.
Step 1: Go to Task Manager. You can press Ctrl + Shift + Esc to access it in no time.
Step 2: Look for the following programs then right-click on each of them and select “End Task“.
>Windows OneDrive.
>Dropbox.
>Snippet tool.
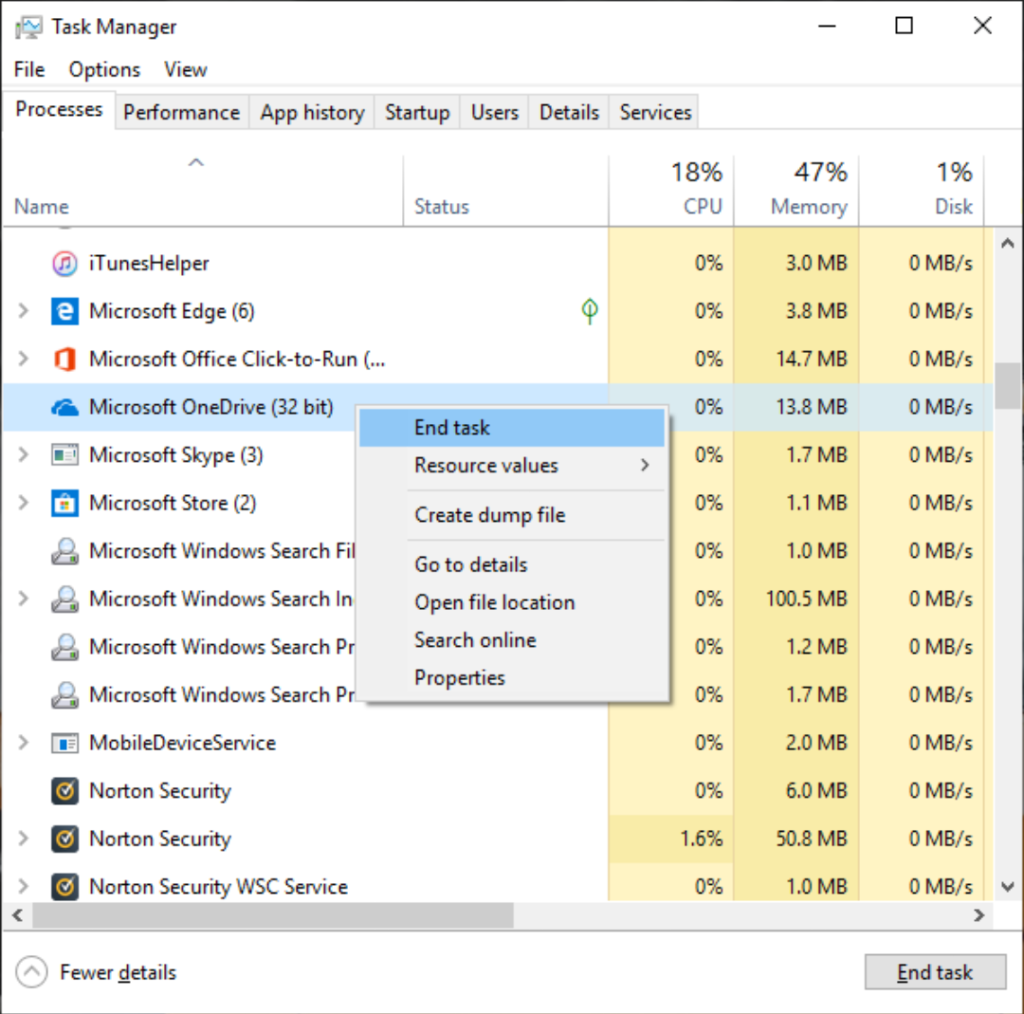
Step 3: Once this is finished, try to see if you are able to fix Print Screen Key Not Working in Windows 10. If the issue persists then try the next option.
Method 6: Use Windows Inbuilt Snipping Tool
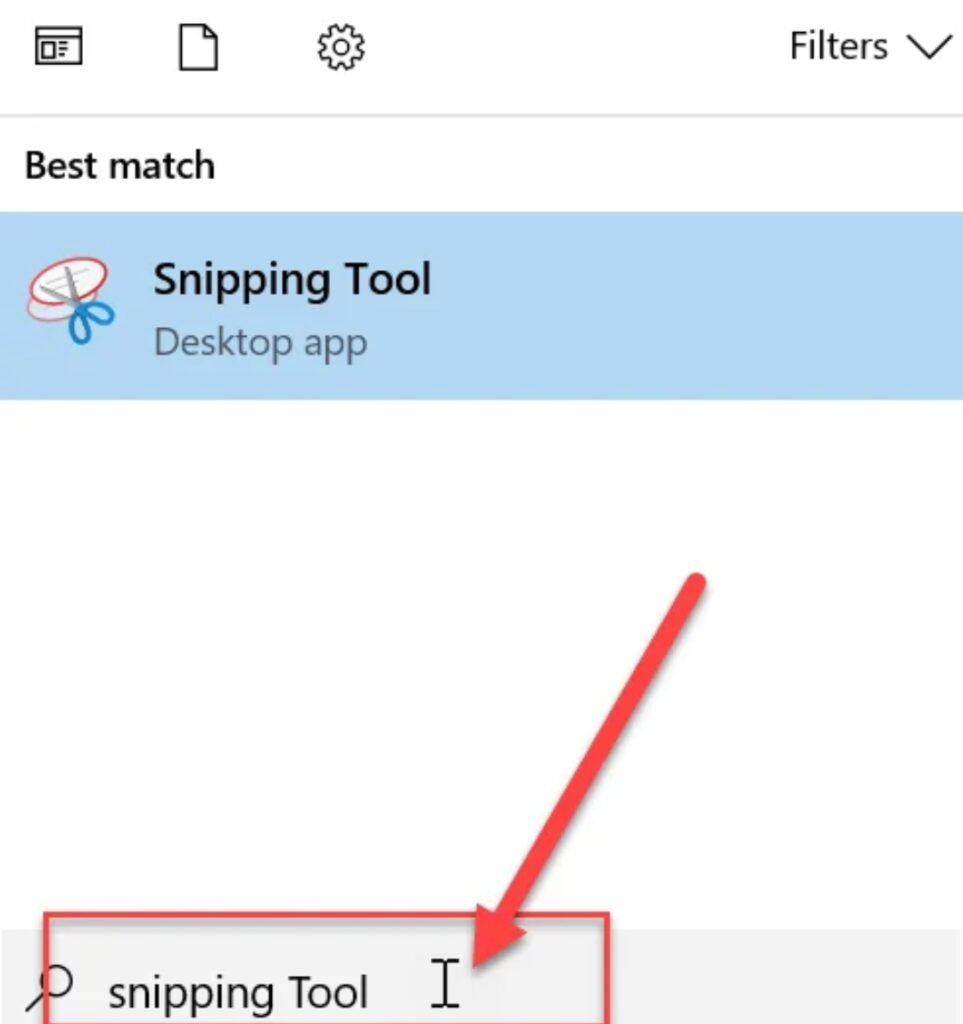
Snipping Tool provides a great way to take a screenshot of the currently active window or the whole screen. If Print Screen Key is not working then you can use the Snipping Tool to take screenshots. Go to the Windows Search and type “Snipping Tool”, click on the app from the search results.

So I hope you have successfully fixed Print Screen Key Not Working in Windows 10. And if you have any questions, let us know in the comment section below.


