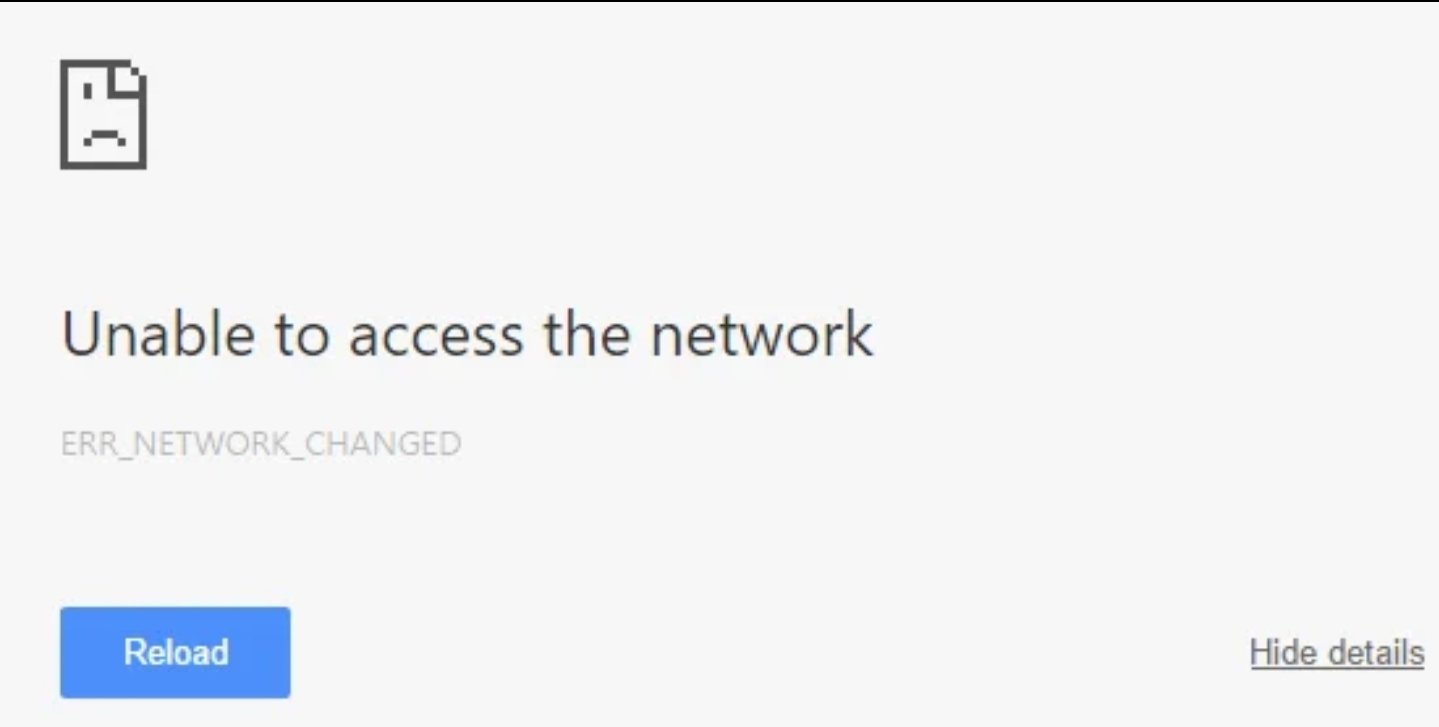
If you are getting error ERR_NETWORK_CHANGED in Chrome on Google Chrome in Windows 10, it means your browser or your internet connection is preventing the page from loading. The error message clearly states that Chrome is not able to access the network. Various issues make this error occur so there are different solutions. You should try all of them till the error is no longer there as what works for one user may not work for another. All types of websites are affected by this error and that’s why it is annoying. In this article, i will be showng you how to Fix ERR_NETWORK_CHANGED in Chrome.
Note: Uninstall any VPN software you have on your PC before starting.

Method 1: Restart Your Modem
Sometimes, you just need to simply restart your modem as the network might have experienced some technical issues. The error can be caused by some network issue so restarting the modem is a good thing to do. This helps to Fix ERR_NETWORK_CHANGED in Chrome. However, if the error persists then follow the next method.
Method 2: Clear Chrome Browsing Data
Step 1: Open Google Chrome and press Ctrl+H to open history or navigate to History
Step 2: Click Clear browsing data from the left panel

Step 3: Eradicate the following items from the “Beginning of time”.
Step 4: Checkmark the following:
> Browsing history
> Download history
> Passwords
> Autofill form data
> Cached images and files
> Cookies and other sire and plugin data

Step 5: Then click Clear browsing data and wait for it to finish
Step 6: Close the Chrome browser and reopen it.
Method 3: Flush The DNS and Reset TCP/IP
Step 1: Right-click on the Windows button then click on “Command Prompt (Admin)”

Step 2: Type the following command and click Enter after each one:
(a) ipconfig /release
(b) ipconfig /flushdns
(c) ipconfig /renew

Step 3: Open “Command Prompt (Admin)” and type the following and click Enter after each one
>ipconfig /flushdns
>nbtstat –r
>netsh int ip reset
>netsh winsock reset

Step 4: Reboot the PC to apply changes.
Method 4: Use Google DNS
Step 1: Open the control panel and click on Network and Internet
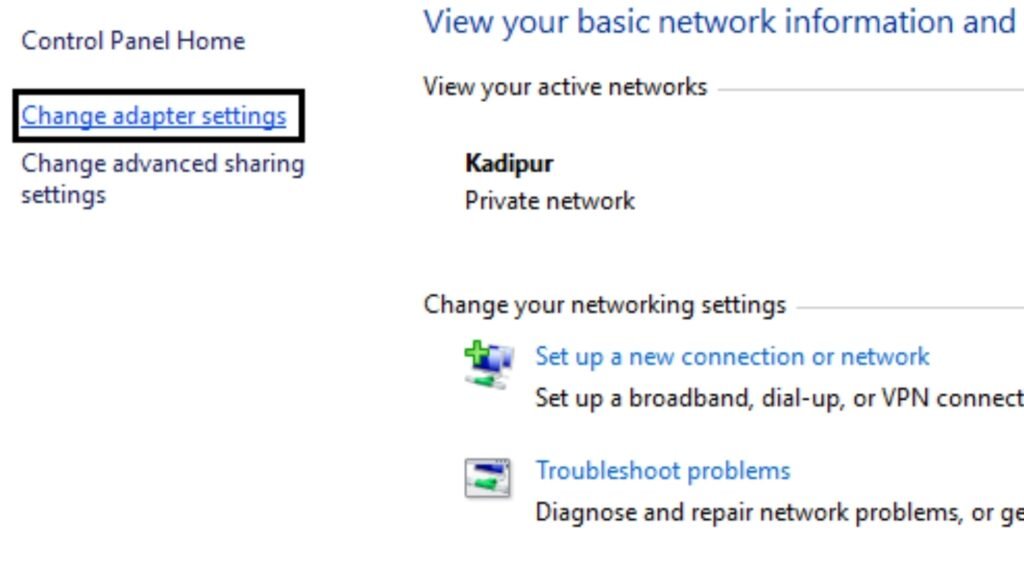
Step 2: Click Network and Sharing Center then click on Change adapter settings.

Step 3: Double click on your WiFi and select properties

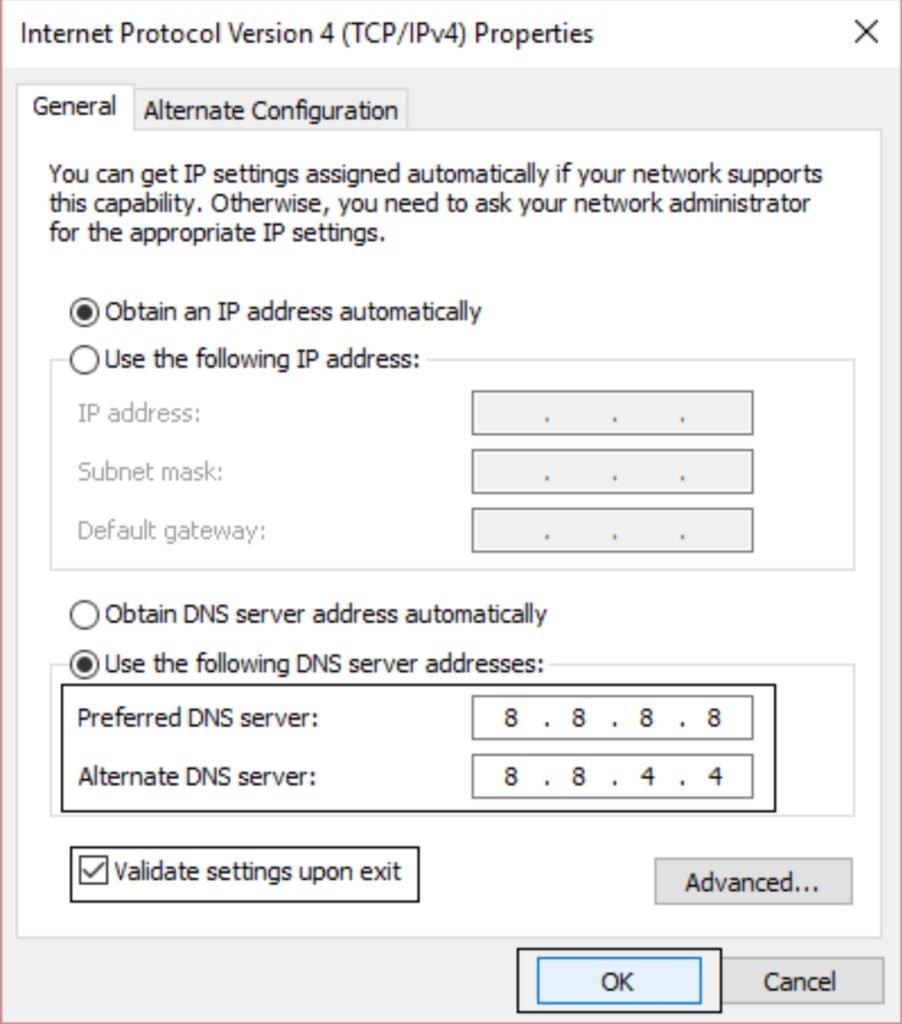
Step 4: Select Internet Protocol Version 4 (TCP/IPv4) then click Properties.

Step 5: Checkmark “Use the following DNS server addresses” and type the following:
>Preferred DNS server: 8.8.8.8
>Alternate DNS server: 8.8.4.4

Step 6: Click OK then exit.
Method 5: Delete WLAN Profile
Step 1: Press Windows Key+X then select Command Prompt (Admin).
Step 2: Type this command in the cmd and hit Enter: netsh wlan show profiles

Step 3: Type the following command “netsh wlan delete profile name=”[PROFILE NAME]” then remove all Wifi profiles.

Step 4: After following the above steps, try to reconnect to the Wi-Fi.
Method 6: Uncheck Proxy
Step 1: Press Windows Key + R and type “inetcpl.cpl” then hit enter to open Internet Properties.

Step 2: Go to Connections tab and select LAN settings

Step 3: Uncheck use a Proxy Server for your LAN and make sure “Automatically detect settings” is checked.

Step 4: Click OK then Apply. Reboot your PC afterwards.
You have successfully Fix ERR_NETWORK_CHANGED in Chrome but if you have any questions regarding this guide then feel free to ask us in the comments section.


