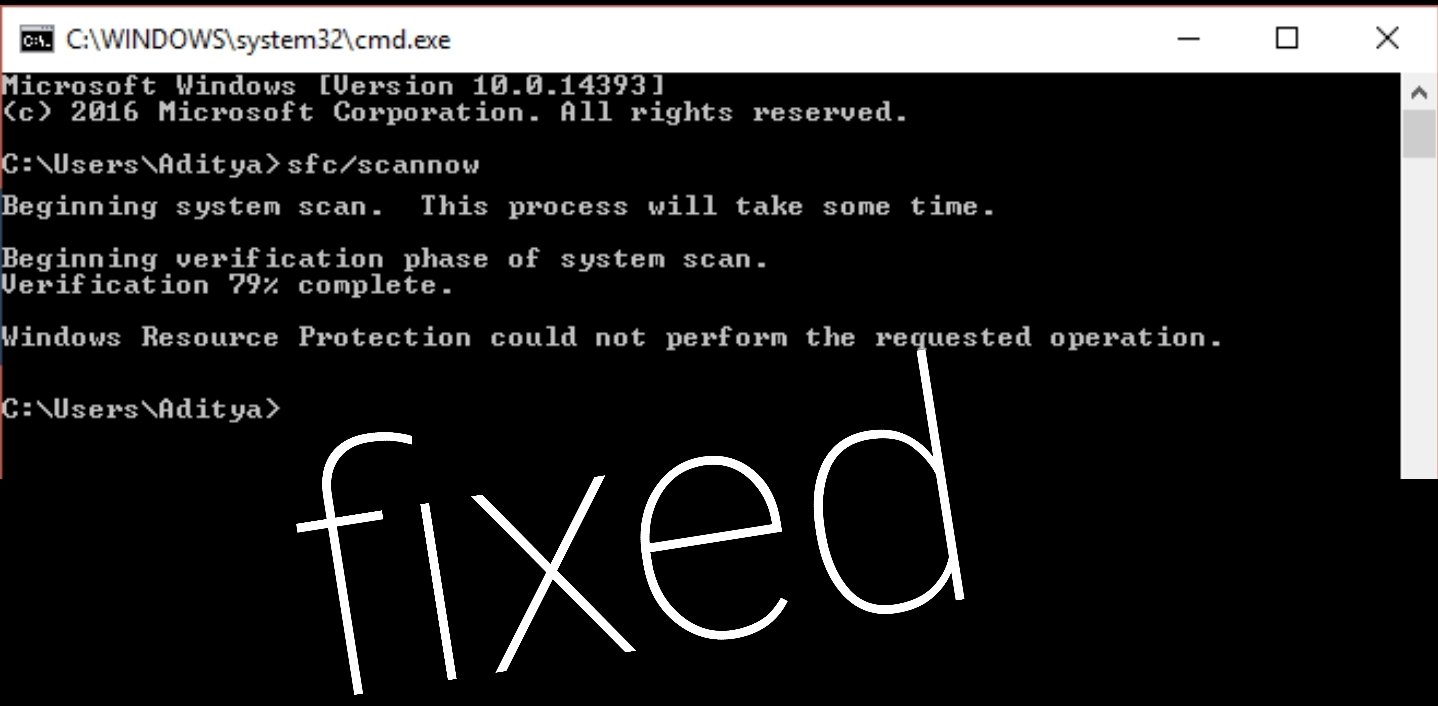
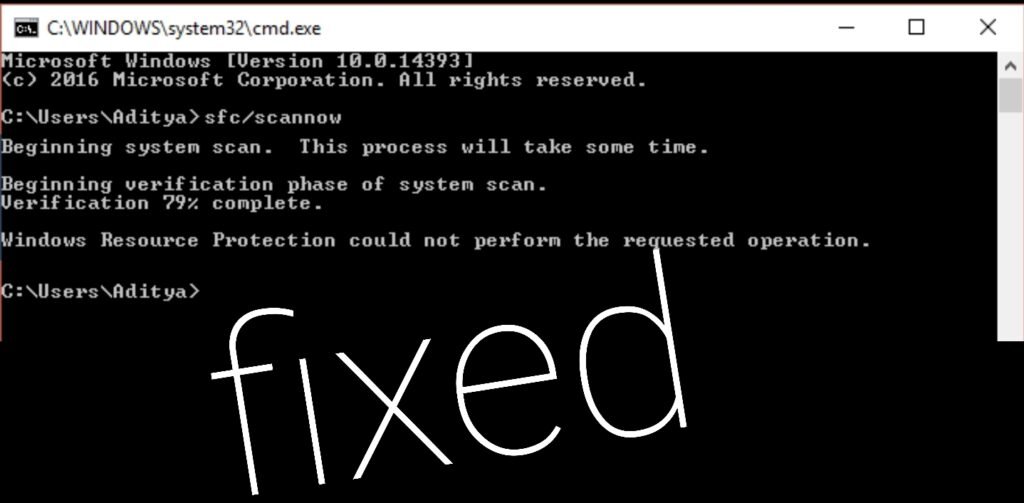
Whenever you decide to run System File Checker (SFC) and this process stops in the middle and gives you this error “Windows Resource Protection could not perform the requested operation”. Don’t worry in this article, I’ll be giving you a guide on how to fix this issue in no time. This issue can be caused by Damaged, corrupt, or missing files, SFC cannot access winsxs folder, damaged Hard disk partition, corrupted Windows files & wrong System Architecture.
Method 1: Run Windows Check Disk
Step 1: Press Windows Key+X then select Command Prompt (Admin).

Step 2: Type the following command in cmd and press enter: CHKDSK C: /R
Step 3: It would ask you to pick the time when the system restarts, type Y and press enter.
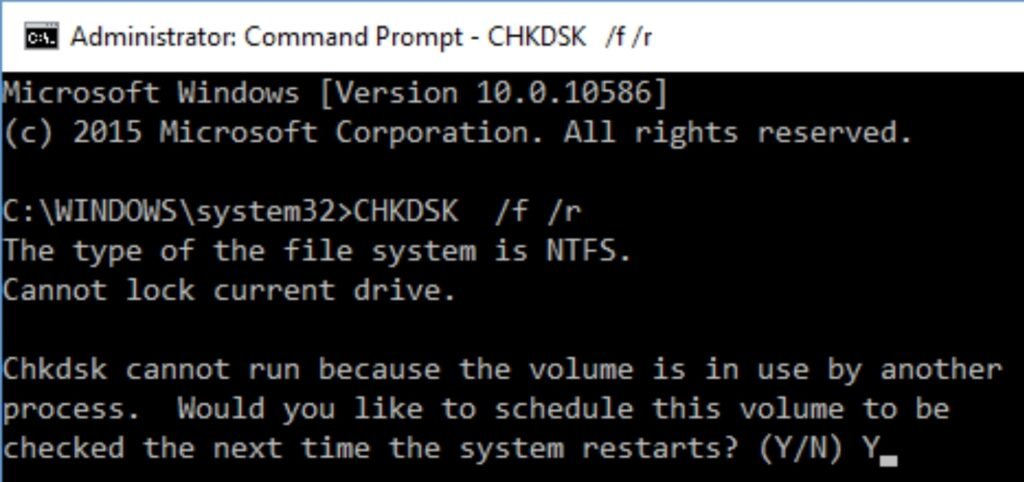
Step 4: Reboot your computer and wait for the Check Disk Scan to finish. (This may take some time depending on the size of your hard disk)
This helps to fix “Windows Resource Protection could not perform the requested operation”. If the issue persists then follow the next step.
Method 2: Run DISM Commands
Step 1: Press Windows Key+X then select Command Prompt (Admin).
Step 2: Type in the following command in cmd and press enter :
> Dism /Online /Cleanup-Image /CheckHealth
> Dism /Online /Cleanup-Image /ScanHealth
> Dism /Online /Cleanup-Image /RestoreHealth
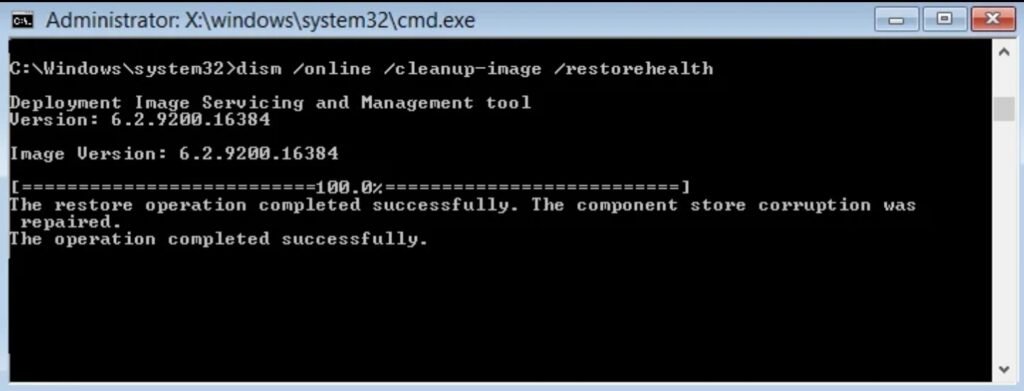
Step 3: Wait till the DISM process completes then restart your PC and see if you have Fix “Windows Resource Protection could not perform the requested operation”.
Method 3: Modify Security Descriptors
Most times, the error happens because the System File Checker can not access the winsxs folder. So you have to manually modify the security descriptors of this folder in order to Fix “Windows Resource Protection could not perform the requested operation”.
Step 1: Press Windows Key+X then select Command Prompt (Admin).
Step 2: Write the following command and press enter: ICACLS C:\Windows\winsxs
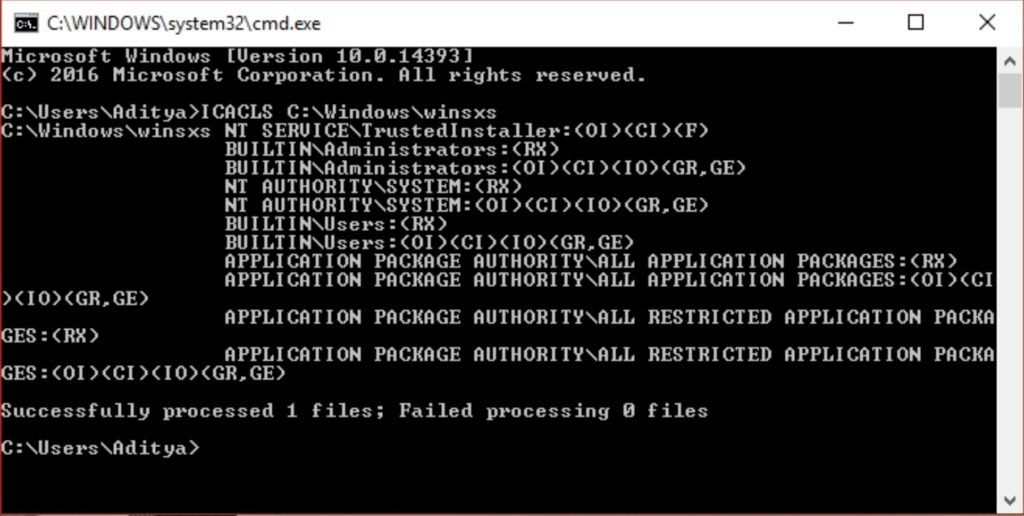
Step 3: Exit the command prompt and restart your PC. This helps to fix “Windows Resource Protection could not perform the requested operation”.
Method 4: Run Startup/Automatic Repair
Step 1: Install Windows 10 bootable installation CD and reboot your PC
Step 2: You’ll be asked to press any key to boot from CD or DVD, so press any key to proceed.

Step 3: Pick your language and click Next. Then Click Repair your computer in the bottom left.

Step 4: Click Troubleshoot when the Choose an option screen to appear.
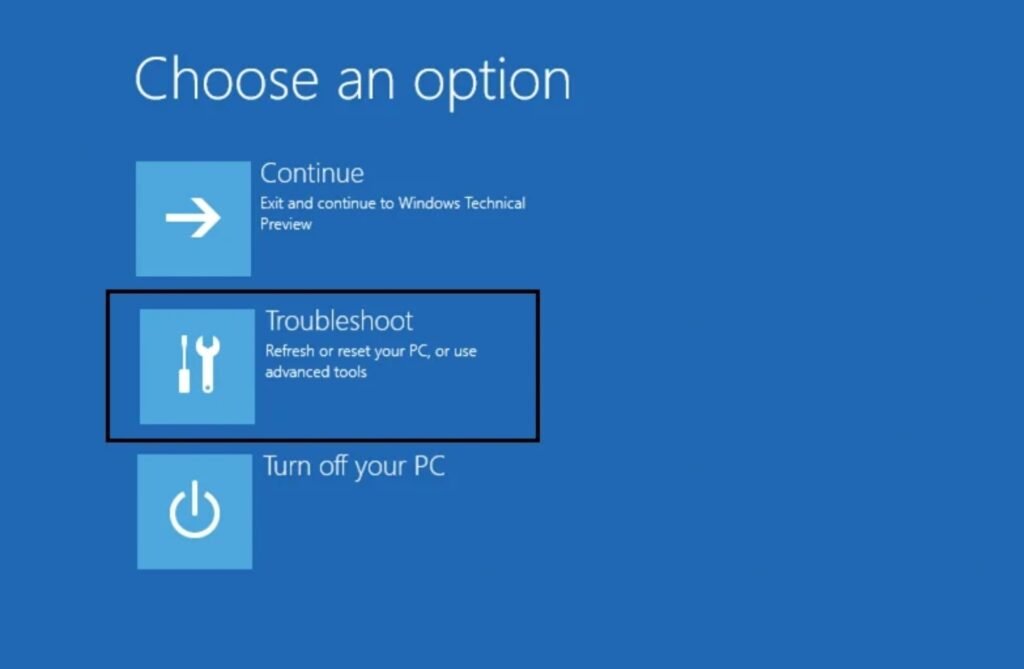
Step 5: Click Advanced Option on the Troubleshoot screen
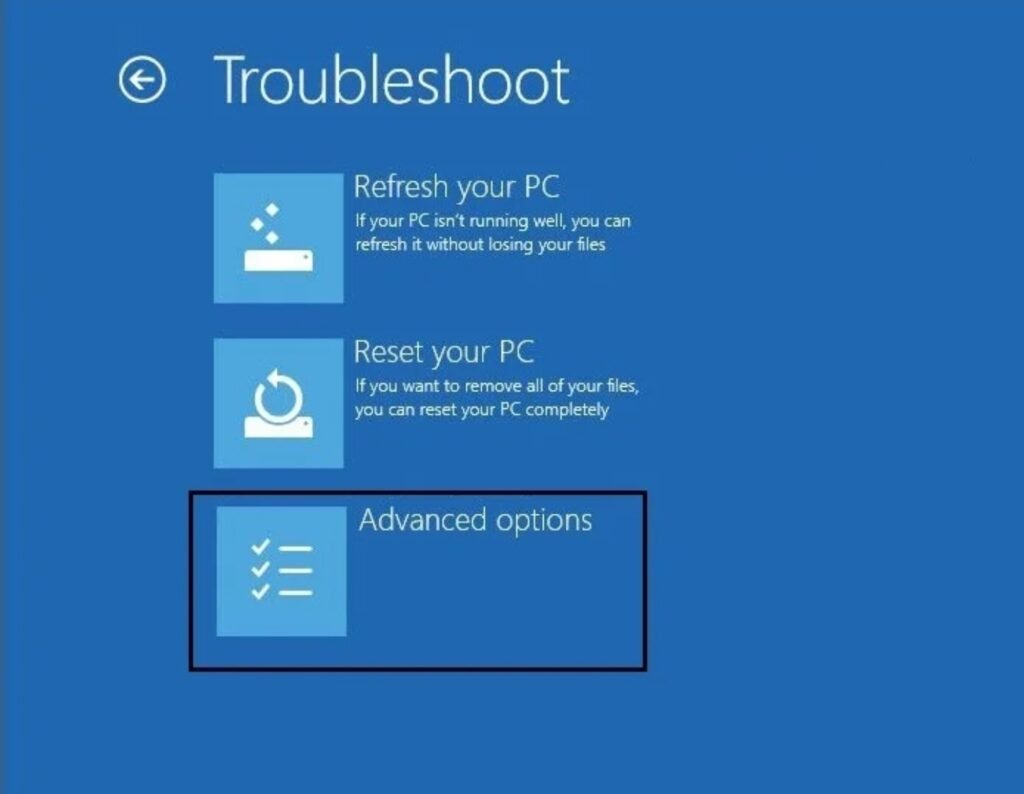
Step 6: Click Automatic Repair or Startup Repair on the Advanced Options screen.

Step 7: Wait until it is complete.
Step 8: Reboot your PC and you’ve fixed “Windows Resource Protection could not perform the requested operation”.
Method 5: Run Windows Update Troubleshooter
Step 1: Go to your browser and open https://support.microsoft.com/en-us/help/10164/fix-windows-update-errors .
Step 2: Select your Windows version and download the Windows update troubleshooter.

Step 3: Double the downloaded file so you can run it.
Step 4: Follow the instructions on the screen to finish the process.
Step 5: Reboot your PC.
The different methods above do help to Fix “Windows Resource Protection could not perform the requested operation”. If this helped you, please leave a comment below.


